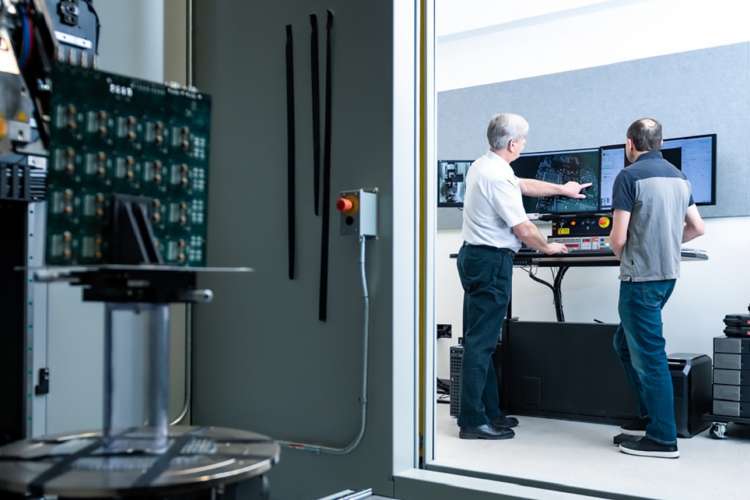
The typical satellite goes through careful planning, rigorous engineering and extensive testing before being launched to space. But even with those measures, sometimes the tiniest, unseen flaws — whether a bad connector or a broken circuit board — can lead to catastrophic failure on orbit.
At The Aerospace Corporation, a team of experts in the computed tomography scanning laboratory are at the forefront of using X-rays to peer deep inside space systems and their components in search of those flaws.
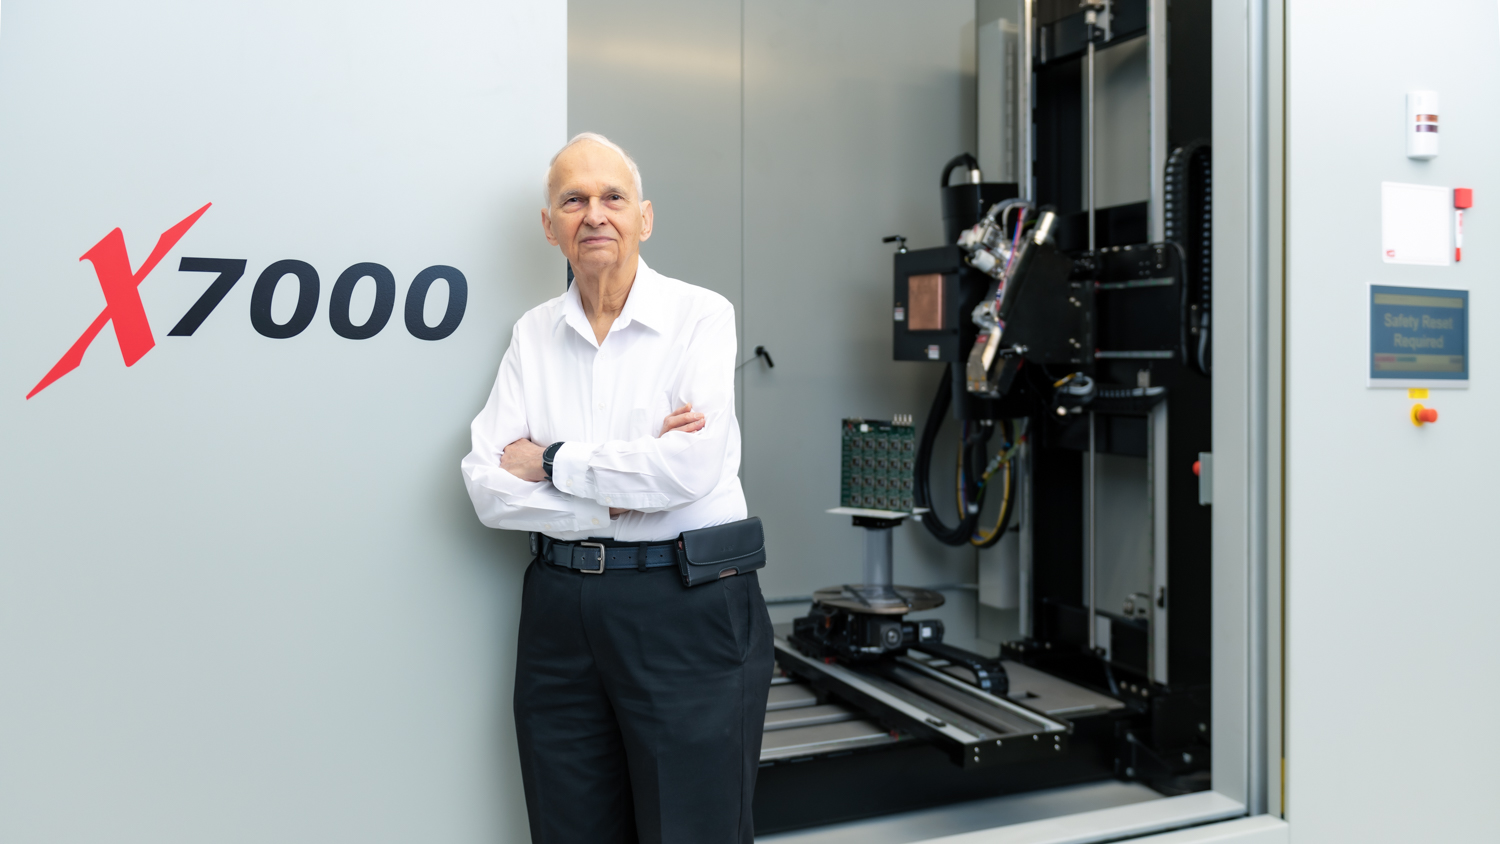
This year, the scientists have been using a newly installed CT scanner that’s six times larger than the lab’s previous scanners, unlocking a host of new capabilities.
“This new CT scanner is a great addition to Aerospace’s state-of-the-art laboratories, providing critical data to ensure the success of our space systems,” said Dr. Tim Graves, General Manager for Aerospace’s Physical Sciences Laboratories. “Developed over nearly three decades, the deep scientific insight and expertise gained from using X-rays to conduct scientific investigations and evaluate issues for challenging cases remain unmatched in the industry.”
The technology is most often used in root cause failure analyses to identify what went wrong, whether in a valve, a battery, cable, antenna or any number of other components that make up a satellite or spacecraft. Other potential uses range widely, from analyzing a part before and after testing to taking precise measurements of internal dimensions and clearances of a part.
Using X-rays allows scientists to look inside a part or system without having to physically alter it, an important tool in non-destructive testing that prevents unwanted damage to a part or the potential loss of critical data about what led to a failure.
The new scanner allows for analysis of large or unwieldy parts, while offering a higher level of power to see more clearly into the densest items. Its larger size complements two existing scanners in Aerospace’s lab designed to image objects on nano- and microscopic scales.
“It provides opportunities to look at things we couldn’t before,” said Senior Scientist Neil Ives. “In the past, we’ve turned away things that we couldn’t get into our cabinet or that didn’t fall within the field of the detectors.”
Harnessing a Powerful Tool
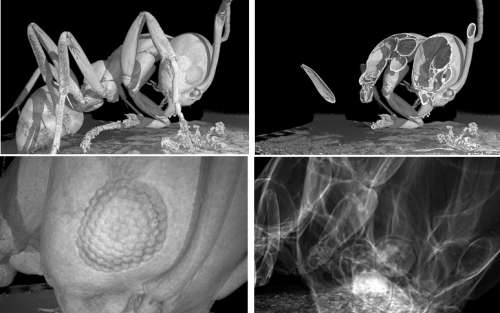
The use of CT scanners to analyze space system parts functions on the same basic principles as medical CT scanning. A series of two-dimensional X-ray images are captured by the scanner and then combined using software to create a three-dimensional model that can be viewed by scientists.
The only difference is that while in medical settings the patient remains stationary and the CT scanner rotates to capture each image, in space parts analysis, the subject is rotated for each image, while the CT scanner remains stationary.
The technology is used in a number of fields, from geology to archaeology to aerospace manufacturing, where scanners are used by technicians to ensure the quality of parts.
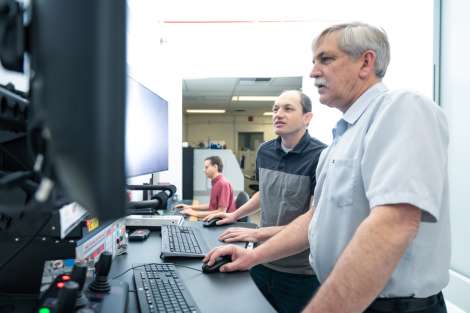
At Aerospace, the foundational technology is coupled with the lab’s unmatched expertise, developed over nearly 30 years of using X-rays to solve problems of all shapes and sizes, often on tight deadlines.
The CT scanning lab is further supported by the extensive knowledge in Aerospace’s other Physical Sciences Laboratories, allowing them to quickly engage experts in metallurgy, materials science or whatever else the challenge calls for.
“The focus for us is to solve a problem, not just deliver images for someone else to interpret. We have fantastic versatility in the types of problems we can solve,” said Scott Sitzman, a Research Scientist at Aerospace. “This new instrument expands that capability. Now, we’ve got the instrumentation to solve almost any problem.”
CT scanning can be used to study individual components like a microelectronic chip, the board it’s affixed to, or even the enclosure all the pieces reside in.
For instance, Aerospace scientists recently analyzed the connectors on a solar panel undergoing thermal cycle testing. While the board was too big and bulky to analyze with Aerospace’s previous scanners, the newly installed machine was more than up to the task.
Unlocking New Capabilities
Installing the new scanner — which measures 16 feet wide, 11.5 feet tall and 11 feet deep — in Aerospace’s existing lab facilities on its El Segundo campus was akin to building a ship in a bottle, said Technical Fellow Dr. Gary Stupian.
A 10-foot by 10-foot hole was cut into the side of the building, allowing a forklift to carry in more than a dozen lead-lined panels, weighing a collective 25 tons. The panels were then carefully installed in a precise, overlapping arrangement to create a seal that prevents X-ray leaks.
In addition to allowing larger items to be imaged, the increased space inside the scanner’s cabinet allows for a greater range of magnification by positioning the subject closer to or further away from the X-ray source.
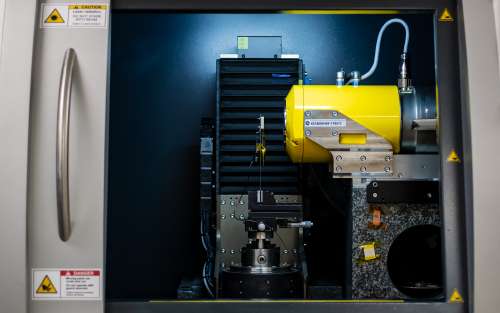
The scanner provides a number of other advancements, including a higher pixel density detector with twice the spatial resolution compared to other instruments in the lab. The new dual-tube system includes a high-energy X-ray tube that extends the potential scanning power, using up to 450 kilovolts compared to a previous maximum of 240 kilovolts in existing scanners, allowing scientists to peer deeper into very dense materials, like the kind that might be used to make a valve.
New software also allows the instrument to incorporate a fourth dimension — time — into its scans, allowing scientists to study how the characteristics of an object change with motion or how it behaves when a change is introduced, whether thermally, electrically or otherwise.
With the installation of the latest device, Aerospace’s lab now has three CT scanners that each have their own unique capabilities, allowing scientists to analyze parts as small as a hundred nanometers across all the way up to entire systems and subsystems.
“For us, we’re always improving upon the techniques that we presently have to provide higher quality information to solve space problems,” Ives said.

